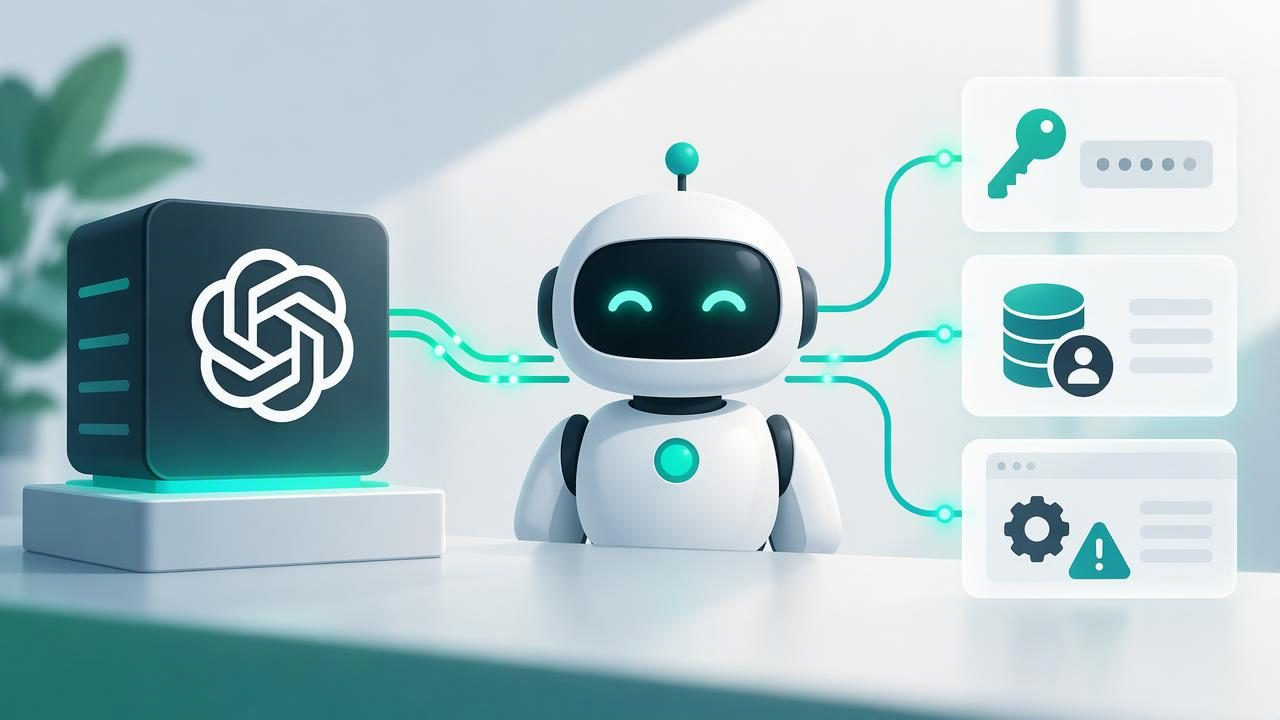
Connecting a model to an AI agent can seem like a simple matter of pasting in an API key. In practice, a reliable setup also depends on the provider’s endpoint, model name, supported features, and how your application handles client data. Getting those details right helps an agent answer consistently, recover gracefully from errors, and stay useful in real conversations.
This guide explains how to connect an OpenAI-compatible model to an AI agent, what to check before you start, and how to test the result. The same principles apply whether you are building an internal assistant, a WhatsApp agent, or a white-label service for multiple clients.
What does “OpenAI-compatible” mean?
An OpenAI-compatible model provider offers an API that follows some or all of the request and response conventions used by the OpenAI API. This can make it possible for an application built for one API to work with another provider by changing configuration values rather than rebuilding its entire integration.
Compatibility is not always complete. Providers can differ in endpoint paths, authentication, available models, rate limits, and support for features such as streaming, tool calls, JSON output, or image inputs. A successful text response does not automatically mean every agent feature will work. Check the provider’s current API documentation and your application’s requirements before choosing a model.
Before you connect a model
Gather the settings you will need from your provider and your agent platform. Names may vary, but most integrations require the following:
- API key: The credential that authorizes requests. Treat it like a password.
- Base URL: The provider’s API root, especially when it is not the default endpoint.
- Model identifier: The exact model name or ID accepted by the provider.
- Feature requirements: Whether your agent needs streaming, tool calling, or structured output.
- Usage limits: Pricing, request limits, context size, and any account-level restrictions.
Also confirm that your platform lets you configure a custom provider or base URL. Some products only support a fixed list of model services, even if the provider itself advertises API compatibility.
How to connect an OpenAI-compatible model
1. Choose a provider and model
Start with the task, not just a benchmark score. A customer support agent may need dependable instruction-following and clear answers, while a lead qualification agent may need to collect fields consistently and use tools. Compare candidate models using realistic prompts, typical message lengths, and the languages your clients use.
Check the provider’s documentation for the model’s exact ID and supported features. Model names that look similar may refer to different versions or capabilities. Record the model ID exactly as shown rather than guessing from a display name.
2. Create and store an API key securely
Create a key in the provider’s dashboard, then add it to your application through its supported settings or a secrets manager. Avoid putting a real key directly in source code, a browser-visible configuration file, a public repository, or a prompt. If a key is exposed, revoke it and create a replacement.
For a local development environment, a server-side environment variable is a common pattern:
MODEL_API_KEY=your-secret-key
MODEL_BASE_URL=https://api.provider.example/v1
MODEL_NAME=provider-model-id
These names are illustrative; use the variable names your application expects. Keep credentials on the server. A web browser should call your backend, not send a private provider key directly to an end user’s device.
3. Set the base URL and model
In your agent platform’s model settings, select the compatible provider if available. Enter the base URL, API key, and model identifier in the appropriate fields. Confirm whether the application expects the API root or a full endpoint path. Adding a path twice—for example, including /chat/completions when the client adds it automatically—can cause a not-found error.
Save the settings and verify that they apply to the intended agent. For a multi-client deployment, do not assume that a global model configuration should be shared by every client. Decide whether the provider, model, and credentials belong to the agency, a particular client, or an individual agent.
4. Make a basic connection test
Use the platform’s connection check or send a short test prompt, such as “Reply with one sentence confirming that you can respond.” A successful test should show that the request reached the provider and returned a usable answer. Check server logs for the response status and request ID if the platform provides them, but never log the complete API key.
Once basic text generation works, test the features your agent actually needs. If it must hand a conversation to a person, confirm that model responses do not prevent the application’s handoff rules from running. If it uses tools, verify the provider’s tool-call format and test a tool action in a controlled environment.
5. Configure behavior and limits
Connection settings do not determine the agent’s entire behavior. Add clear instructions, connect the correct client knowledge base, and set practical limits for response length and conversation history. Use conservative defaults at first, then adjust them based on test conversations. A larger context window may help with long histories, but it can also increase cost and processing time.
Set sensible timeouts, retry behavior, and fallback messaging where your platform allows it. A user should not see an unexplained technical error if a provider is briefly unavailable. Instead, the agent can acknowledge the delay or offer a route to a human, depending on the conversation and business rules.
Test the model before going live
A single successful response proves connectivity, not production readiness. Build a short test set from common customer questions and edge cases. Include questions the client’s documents answer, questions they do not answer, ambiguous requests, and attempts to get the agent to ignore its instructions.
Review each result for accuracy, tone, groundedness, and appropriate uncertainty. Confirm that answers use the intended client knowledge base rather than another client’s material. Test the handoff path, too: the agent should recognize when a person is needed and pass enough conversation context for the team to respond.
Before launch, measure response time and review estimated usage under realistic traffic. Establish a budget or usage alert with the provider where possible. A model that performs well in a handful of manual tests may behave differently when conversations are longer or several agents send requests at once.
Important considerations for agencies
Agencies managing several WhatsApp AI agents need to think beyond the connection itself. Each client should have appropriately separated conversations, knowledge, and agent settings. A shared provider integration can be operationally convenient, but it should not blur client boundaries or expose one client’s information in another client’s responses.
Use permissions that match team responsibilities. Limit who can view or change API credentials, model settings, and client data. Keep a record of which provider and model each agent uses, who approved the configuration, and when it was last tested. If credentials are client-owned, document who is responsible for rotation and billing. If they are agency-owned, define how usage and costs are allocated.
Review your provider’s data-handling terms before sending client conversations or documents. Consider retention, processing location, and whether submitted data may be used to improve provider services. Avoid sending information the model does not need, and use a human handoff for sensitive or high-impact decisions when appropriate. These practices make model choice and AI agent security part of the same operational process.
Common connection problems
| Problem | What to check |
|---|---|
| Unauthorized response | Confirm the key is valid, active, and stored in the right server-side setting. |
| Not-found response | Check the base URL, endpoint path, and exact model identifier. |
| Model not available | Verify that the account has access to the model and that its ID is current. |
| Feature or format error | Check whether the provider supports the requested tools, streaming, or output format. |
| Slow or failed requests | Review provider status, timeout settings, rate limits, and request size. |
When troubleshooting, change one setting at a time and repeat the same test. This makes it easier to identify whether the problem comes from credentials, routing, model access, or an unsupported feature. Use provider documentation and sanitized logs rather than sharing secrets in support tickets.
Build a repeatable model setup
A good connection is more than a working API key. It combines a compatible endpoint, a verified model, secure credential handling, realistic testing, and clear ownership of client data and usage. Document the configuration so your team can reproduce it, review it, and update it without relying on one person’s memory.
For agencies, repeatable configuration makes it easier to maintain different agents without losing sight of each client’s permissions, knowledge, and human handoff process. OpenLivery is one example of an open-source platform designed for agencies that need to manage branded agents across multiple clients; whichever platform you use, apply the same careful connection and testing practices.
